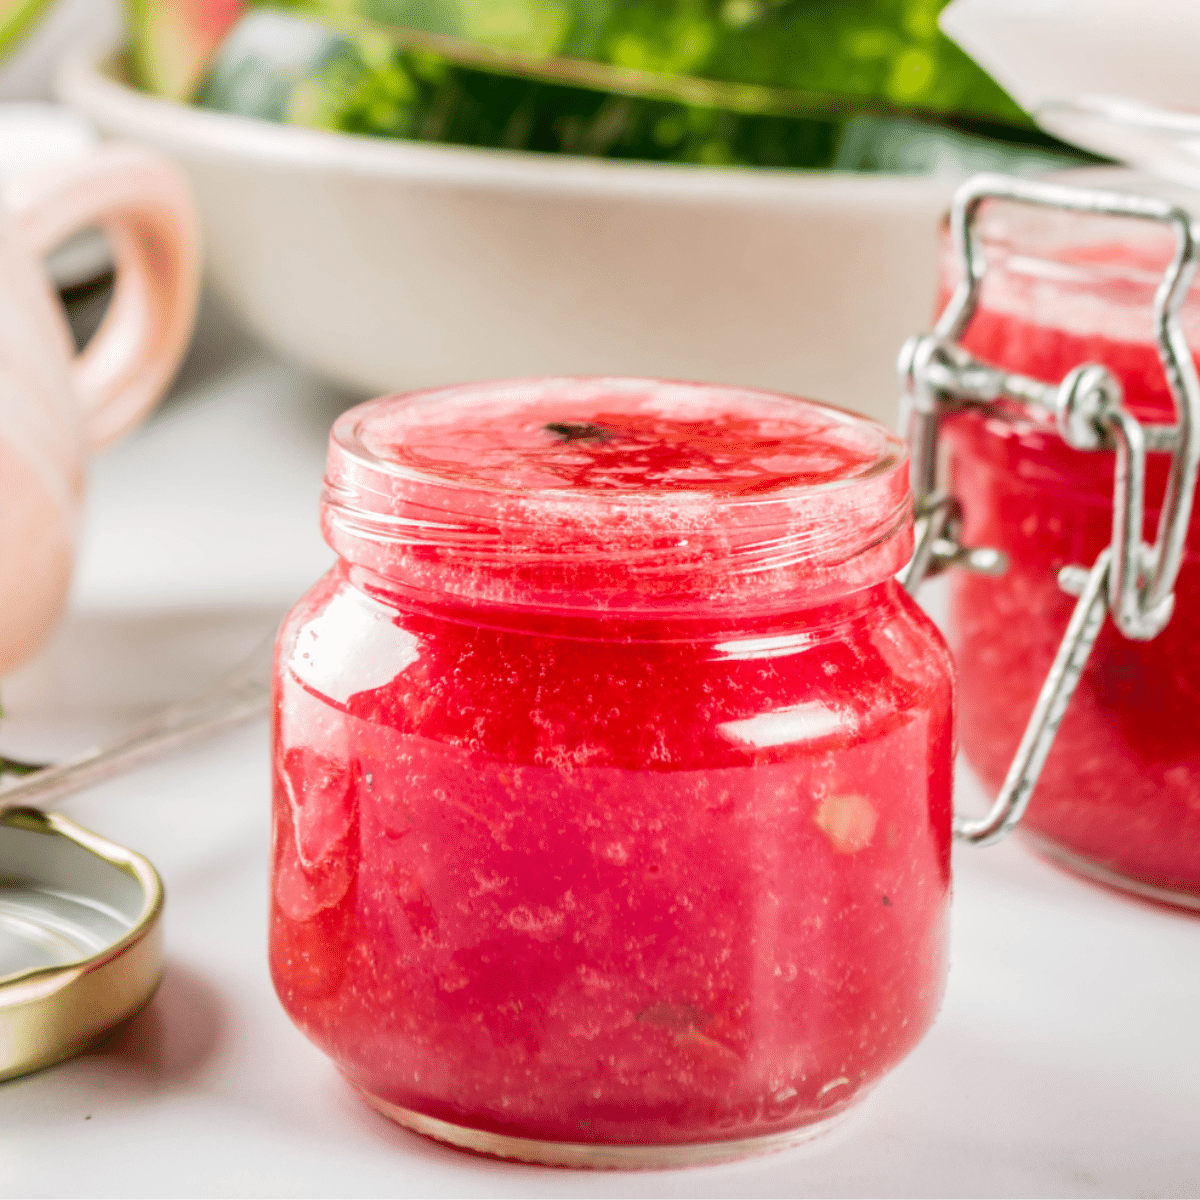
Imagine harnessing the vibrant, sun-drenched sweetness of summer's most iconic fruit and preserving it in a jar. That’s precisely what you can achieve with a delightful batch of homemade watermelon jam, and here’s the best part: you don't need any pectin! This incredibly simple recipe transforms fresh watermelon into a smooth, refreshing, and subtly spiced spread that captures the essence of long, lazy days. Forget complex canning processes; this no-pectin method focuses on pure flavor and natural thickening, making it accessible for even beginner jam-makers.
For those of us who adore the art of preserving, there’s a unique satisfaction in turning abundant produce into something truly special. While classics like strawberry and apricot jams are beloved, homemade watermelon jam offers a refreshingly unique twist. It's a lightly sweet, wonderfully fruity spread with an unexpected warmth from cinnamon, making it a summery treat with just a hint of cozy, comforting spice. Perfect for spreading on toast, warm biscuits, or even a homemade scone, this jam is a celebration of flavor.
Why Make Homemade Watermelon Jam? More Than Just a Preserve
Beyond the simple pleasure of a delicious spread, there are several compelling reasons to try your hand at making homemade watermelon jam. It’s not just a recipe; it’s an experience, a memory, and a delightful way to capture a fleeting season.
Utilizing Abundant Harvests (and Avoiding Waste!)
Summer often brings a bounty of produce, and watermelons are no exception. Whether you’ve grown them in your garden (they’re surprisingly good container fruits, yielding 3-4 per plant!) or found an amazing deal at the farmer's market, you might find yourself with more watermelon than you can possibly eat fresh. While refreshing slices and watermelon soup are always welcome, there's a limit to how much you can consume. This is where transforming excess watermelon into sweet summer jam becomes a culinary stroke of genius. It's an excellent, flavorful solution to ensure not a single juicy bite goes to waste.
An Unforgettable Flavor Profile
Unlike other fruit jams that can be overtly sweet or tart, homemade watermelon jam boasts a unique character. It's lightly sweet, intensely refreshing, and wonderfully fruity, carrying the true essence of fresh watermelon. What elevates it further is a warm, aromatic twist of cinnamon. This subtle spice introduces a layer of complexity, transforming a simple fruit spread into something truly special – a balance of bright summer and comforting fall notes. For a truly unique and aromatic experience, you might also consider adding lemon zest and a touch of vanilla, which can introduce delightful layers of tanginess and subtle warmth, making for an exotic yet familiar taste.
The Joy of Pectin-Free Jam Making
Many home cooks shy away from jam-making due to concerns about pectin – how much to add, if it will set correctly, and the often-finicky process. This recipe for homemade watermelon jam simplifies everything by eliminating the need for pectin entirely. The natural sugars in the watermelon, combined with added sugar and lemon juice, work together through a gentle simmering process to create a naturally thick, smooth, and spreadable consistency. It’s a testament to the fact that delicious, perfectly set jam can be achieved with just a few natural ingredients and a little patience. This simplicity makes it a fantastic starting point for anyone new to the world of preserving.
Moreover, homemade jam makes for a beautiful and thoughtful gift. Imagine presenting friends and family with a jar of glistening, ruby-red watermelon jam, knowing it was made with love and natural ingredients. It's a gift that truly captures the warmth and generosity of summer.
The Simple Ingredients: Watermelon, Lemon, Sugar, and Spice
The beauty of this homemade watermelon jam lies in its minimalist ingredient list. You only need four core components, each playing a vital role in creating that perfect, pectin-free spread.
- Fresh Watermelon: The star of the show! Choose a ripe, juicy watermelon for the best flavor. Remember, watermelon is about 92% water, which means it’s packed with natural juice that forms the base of our jam.
- Granulated Sugar: Essential not just for sweetness, but also for preservation and setting. Sugar works with the fruit’s natural properties and the added lemon to create the jam’s thick consistency. It draws out moisture, concentrates flavor, and acts as a natural preservative.
- Lemon (Juice and Zest): Lemon is crucial for two reasons. Firstly, its acidity helps balance the sweetness of the watermelon, preventing the jam from being cloyingly sweet. Secondly, and most importantly for a pectin-free jam, the acid in lemon helps activate the natural pectin present in the fruit (even though watermelon is low in pectin, the interaction with sugar and prolonged cooking helps it thicken). Lemon zest also adds a bright, aromatic lift to the overall flavor.
- Cinnamon: This is the secret ingredient that transforms a good jam into an extraordinary one. A touch of ground cinnamon provides a warm, comforting, and slightly spicy counterpoint to the fresh fruitiness of the watermelon. It’s an unexpected pairing that creates a truly memorable flavor profile. If you're intrigued by the power of spices in your preserves, you'll appreciate how sweet watermelon jam captures summer's flavor with spice.
- Optional Vanilla Extract: For an added layer of warmth and a subtle aromatic sweetness, a splash of pure vanilla extract can beautifully complement the cinnamon and watermelon.
Your Step-by-Step Guide to Easy Homemade Watermelon Jam
Making this delicious homemade watermelon jam is a straightforward process, broken down into a few key stages. Patience is your best friend here, as the thickening process happens naturally over time.
1. Preparation is Key: Making Watermelon Juice
The foundation of this jam is fresh watermelon juice. You'll need a substantial amount, typically around 16 cups for a larger batch, but the recipe is easily scalable. Start by cutting your watermelon into manageable chunks. Then, remove as many seeds as possible. While a few tiny seeds might slip through, aim for mostly seed-free chunks. Place the watermelon chunks into a blender or food processor and blend until completely smooth and liquid. This creates your fresh watermelon juice base. For larger quantities, you may need to work in batches.
2. Cooking the Jam: The Pectin-Free Thickening Process
Once you have your watermelon juice, the cooking begins.
- Combine Ingredients: Pour the watermelon juice into a large, heavy-bottomed pot. Add the sugar, lemon juice (and zest, if using), and cinnamon (plus vanilla, if desired).
- Bring to a Boil: Place the pot over high heat and bring the mixture to a low, rolling boil, stirring occasionally to dissolve the sugar.
- Simmer and Skim: Once boiling, reduce the heat to medium-low to maintain a gentle simmer. This is where the magic happens! Stir the jam every 15 minutes to prevent sticking and burning. As the jam cooks, foam will rise to the surface. Use a spoon to skim this foam off periodically; it contains impurities and can make your jam cloudy.
- Thicken Naturally: Continue to simmer the jam for 2 to 3 hours. The exact time will depend on your stove, pot, and the water content of your watermelon. During this time, the water will evaporate, concentrating the sugars and fruit solids, and allowing the jam to thicken naturally without pectin. Keep a close eye on it, especially during the last hour, to prevent scorching.
Pro Tip: The "Plate Test" for Doneness
To check if your jam has reached the perfect consistency, place a small plate in the freezer for 5-10 minutes. When you think the jam is ready, spoon a small amount onto the cold plate. Return it to the freezer for 1-2 minutes. Then, push the jam with your finger. If it wrinkles and holds its shape, it's ready! If it's still too liquid, continue simmering and test again every 15-20 minutes.
3. Jarring and Storing Your Summer Treasure
Once your jam has reached the desired consistency, remove it from the heat. Let it sit in the pot for about 5 minutes to cool slightly before jarring. Carefully ladle the hot jam into clean, sterilized mason jars, leaving about ¼ inch of headspace. Wipe the rims clean, secure the lids, and allow the jars to cool completely on the counter.
For short-term storage, your homemade watermelon jam can be kept in the refrigerator for 2-3 weeks. If you wish to extend its shelf life, you can process the filled jars in a boiling water bath canner according to standard canning guidelines. This will allow for pantry storage for up to a year.
Tips for Jam-Making Success & Creative Ways to Enjoy Your Watermelon Jam
Making jam is a rewarding experience, and a few extra tips can ensure your success and inspire new ways to savor your creation.
Troubleshooting Common Jam Issues
- Jam Not Thickening? If after 3 hours and the plate test, your jam is still too runny, don't despair! Continue simmering, checking every 15-20 minutes. You can also add a tablespoon of additional lemon juice to help activate any remaining natural pectin.
- Jam Too Thick? If your jam seems too stiff after cooling, you can gently reheat it with a tablespoon or two of water or extra watermelon juice to thin it to your desired consistency.
Flavor Variations to Explore
While the classic watermelon and cinnamon combination is divine, feel free to experiment!
- Ginger Kick: Add a teaspoon of grated fresh ginger for a zesty, warming twist.
- Herbal Notes: A few sprigs of fresh mint or basil added during the last 30 minutes of cooking (removed before jarring) can introduce a refreshing herbal layer.
- Citrus Burst: Incorporate orange zest along with the lemon for a broader citrus profile.
- Boozy Blend: A splash of rum or tequila added during the last 10 minutes of cooking can create an adult-friendly jam perfect for cocktails or glazes.
Beyond the Toast: Creative Uses for Watermelon Jam
While perfect on a bagel, English muffin, or toast, your homemade watermelon jam is incredibly versatile:
- Breakfast Booster: Swirl it into plain yogurt or oatmeal for a burst of fruity flavor.
- Dessert Topping: Spoon it over vanilla ice cream, panna cotta, or cheesecake.
- Savory Pairings: Serve it alongside a cheese board with goat cheese or brie, or use it as a glaze for grilled chicken or pork. The sweet and savory combination is surprisingly delicious!
- Baking Ingredient: Use it as a filling for thumbprint cookies, tarts, or even inside delicate macarons.
- Cocktail Enhancer: A spoonful can be muddled into a gin and tonic or a vodka soda for a unique summery drink.
Conclusion
There’s an undeniable magic in transforming a simple, seasonal fruit into a delectable preserve that can be enjoyed long after its season has passed. This recipe for homemade watermelon jam, made without the fuss of pectin, offers a truly unique and satisfying experience. It's a testament to the fact that the best things in life, and in the kitchen, are often the simplest. So, grab a ripe watermelon, gather your ingredients, and embark on a culinary journey to capture the pure, unadulterated sweetness of summer in a jar. Spread it, savor it, and share the joy of this delightful homemade treat.
